Get 'er done week!
You WANT to get this quilt top this week because the final giveaway prize is that good!
SO good!
Maybe you've already done the math and figured out that Cotton + Steel must be part of the final giveaway, and you'd be right!
This is Snow Flowers, by Oka Emi. I'm captured by her artwork!
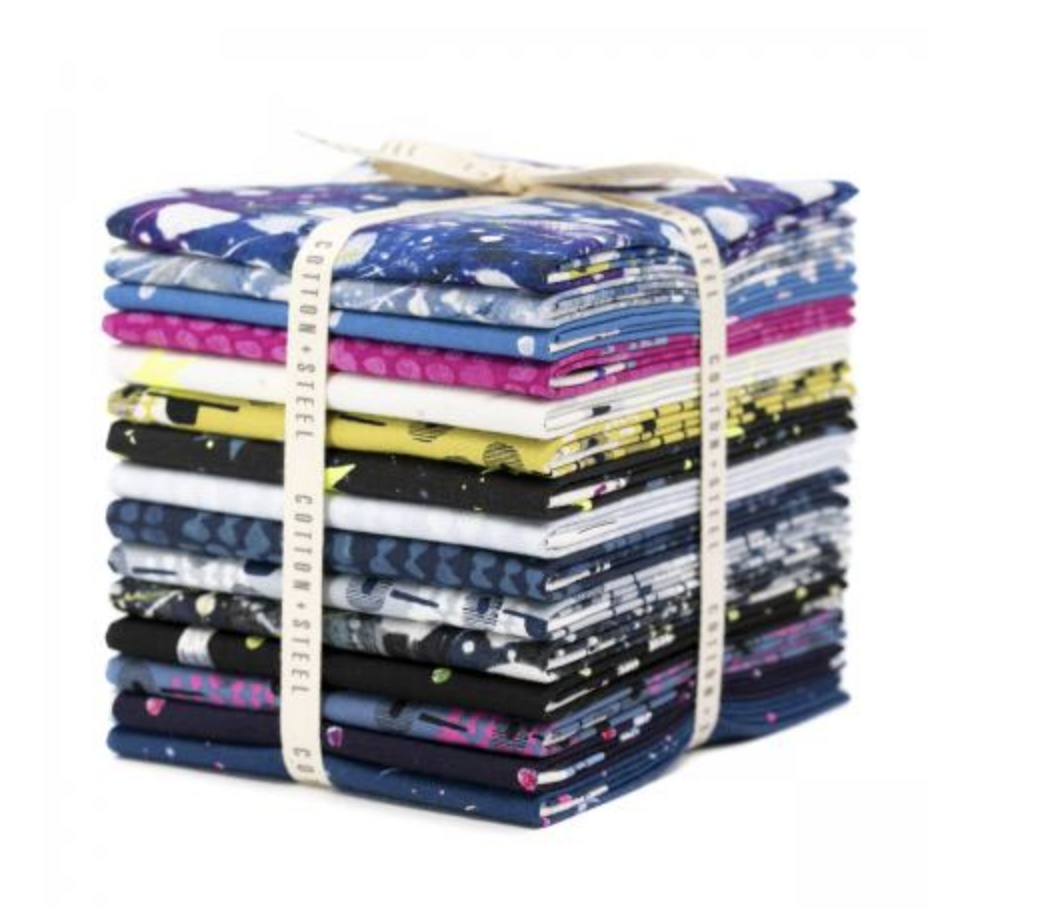
Here it is in Starbright,


(I'm tempted to host a QAL in the Fall with either Petticoat or Starstrung, what do you think???)

So the Final Giveaway winner will receive the Snow Flowers bundle AND a 6-month subscription to the Make Modern Magazine!

Week 5 Winner:
Congrats to Jen @hilljj25! You've won the Yard Quilt from Quilt Designs in the Yard! (Give them a follow if you haven't already.) I'm so excited for ya, Jen! Email me with your mailing address and phone number and Brenda will mail your prize to you.


Tips for the week:
Sewing the blocks together goes so fast. That's part of the magic of big blocks! When you sew blocks together, the seams within the block will not nest, these will have to be matched up with out nesting. I thought long and hard about how to make the entire quilt nest, and it could have. But it would have required you to know where you were putting every block in the quilt almost from the beginning, and that added a level of confusion to the pattern I didn't think was worth the fuss. The seams from sewing blocks together will nest if you press the seams as suggested in the pattern.
As soon as my quilt is assembled, I am in the habit of running a line of stitching around the entire quilt top 1/8" in from the edge. This keeps seams from opening, or seam allowances turning the wrong way. It's referred to as stay-stitching, and can be done in a larger stitch length, 2.5 - 2.8.
Pattern Matching a printed fabric:
I thought I'd share this for down-the-line when you're ready to finish your Yonder and make your backing. This week's goal is to have an assembled quilt top/flimsy, so batting, backing, quilting and binding can come at a later date.
Have you ever tried matching the print on a piece of fabric? One of my favourite parts of the quilt-making process is choosing a backing with a printed design, and matching the print so that the design looks continuous across the entire backing. It's my Superpower! It can be yours, too! Check out my blog post, Invisible Pieced Backing.


My finished quilt top:
Last week, I assembled my QAL Yonder blocks into a quilt top! This quilt is a mashup of following the pattern's cutting instructions, and the two bonus tutorials: Using fat quarters for the Yonder Quilt, and Using directional prints with Yonder. My husband and I are shopping for a small chair for our room that we can use to meditate in. This matches the room well and will be the perfect lap quilt. I'm tempted to make a matching roll pillow with my leftover bits!


Well, 7 days left! This week's work is pretty light, so if you're behind, you might still be able to have a quilt top by Sunday night and qualify for the giveaway. Either way, tag me in your Yonder posts so I can watch your quilts come together!


