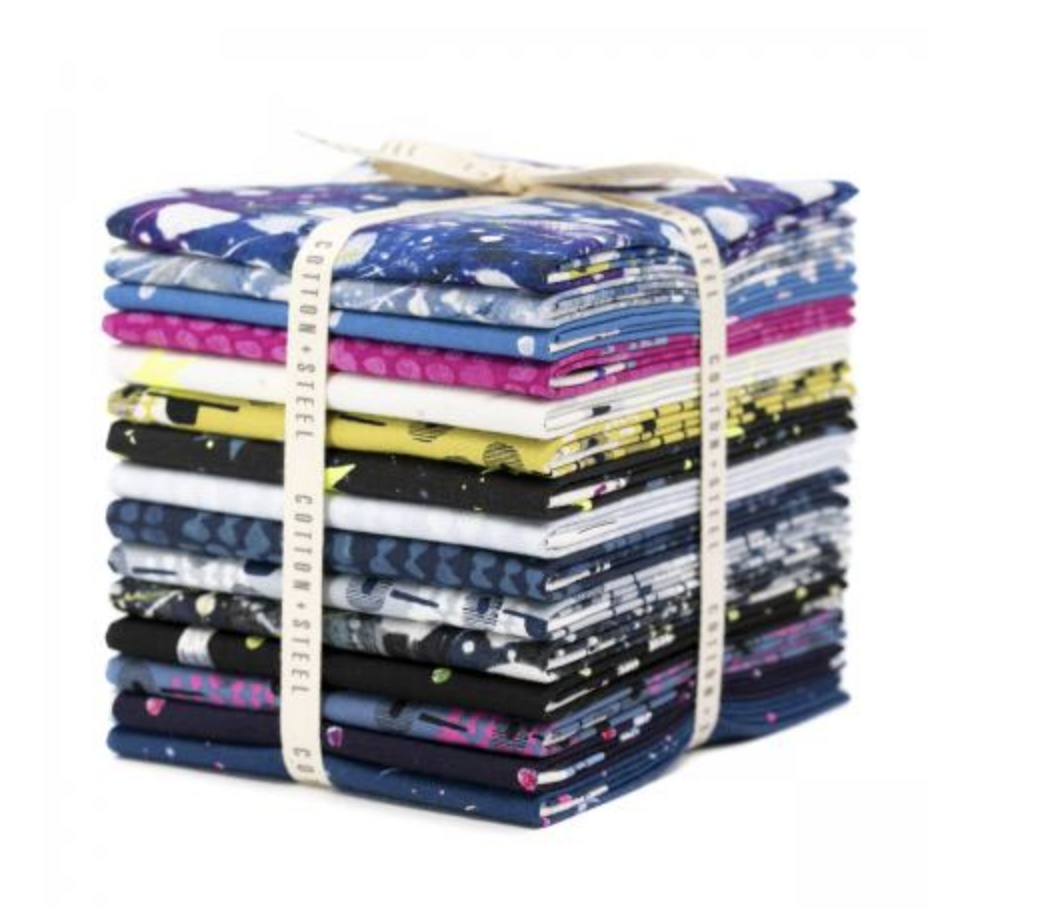
Simple Embroidery


As soon as our fabric arrives to us there's so much to do to get ready for launch.  I have a very short amount of time to make everything that will go into the Lookbook.

It's busy, but also enjoyable to binge listen to an audiobook or lecture and hide in the sewing room for a long day of sewing.

But ironically, the first thing I want to do every time our new collection arrives is to put a little piece of the prints into a hoop and hand stitch a little.


 So, I thought I'd share my fun with you, and tell you a little about my playful first projects with our new collection.

First off, I use SF101 on the back of every piece of fabric. I find sometimes I get indents on the surface of the fabric from the knots on the back, and using that light touch of woven fusible interfacing keeps the front of the work looking great.

These hoops are a very cute 4" and if you're a Shop Owner, they can be purchased through Brewer or if you're shopping for yourself, here's Amazon.ca.

You'll see all these embroidery stitches are very basic, and it's not fine and detailed work.  Most times I'm using all 6 strands of floss, and adding simplistic little embellishments to the artwork.   


This is a simple running stitch, and singular chain stitches for the leaves.  I'm using 6 strands of DMC in a soft pink.
...


These are french knots, with 6 strands of Aurifil Cotton Floss in a light peach.
...


These are very basic satin stitches using silk ribbon embroidery ribbon.  The white is 3/8" wide, and the yellow is 3/16" wide.
...


These are very basic satin stitches using silk ribbon embroidery ribbon.  The silk ribbon is 1/4" wide. Then I did some very basic satin stitch with 3 colours of 6 ply DMC floss.  I used a red, bubble gum pink and soft pink.
...
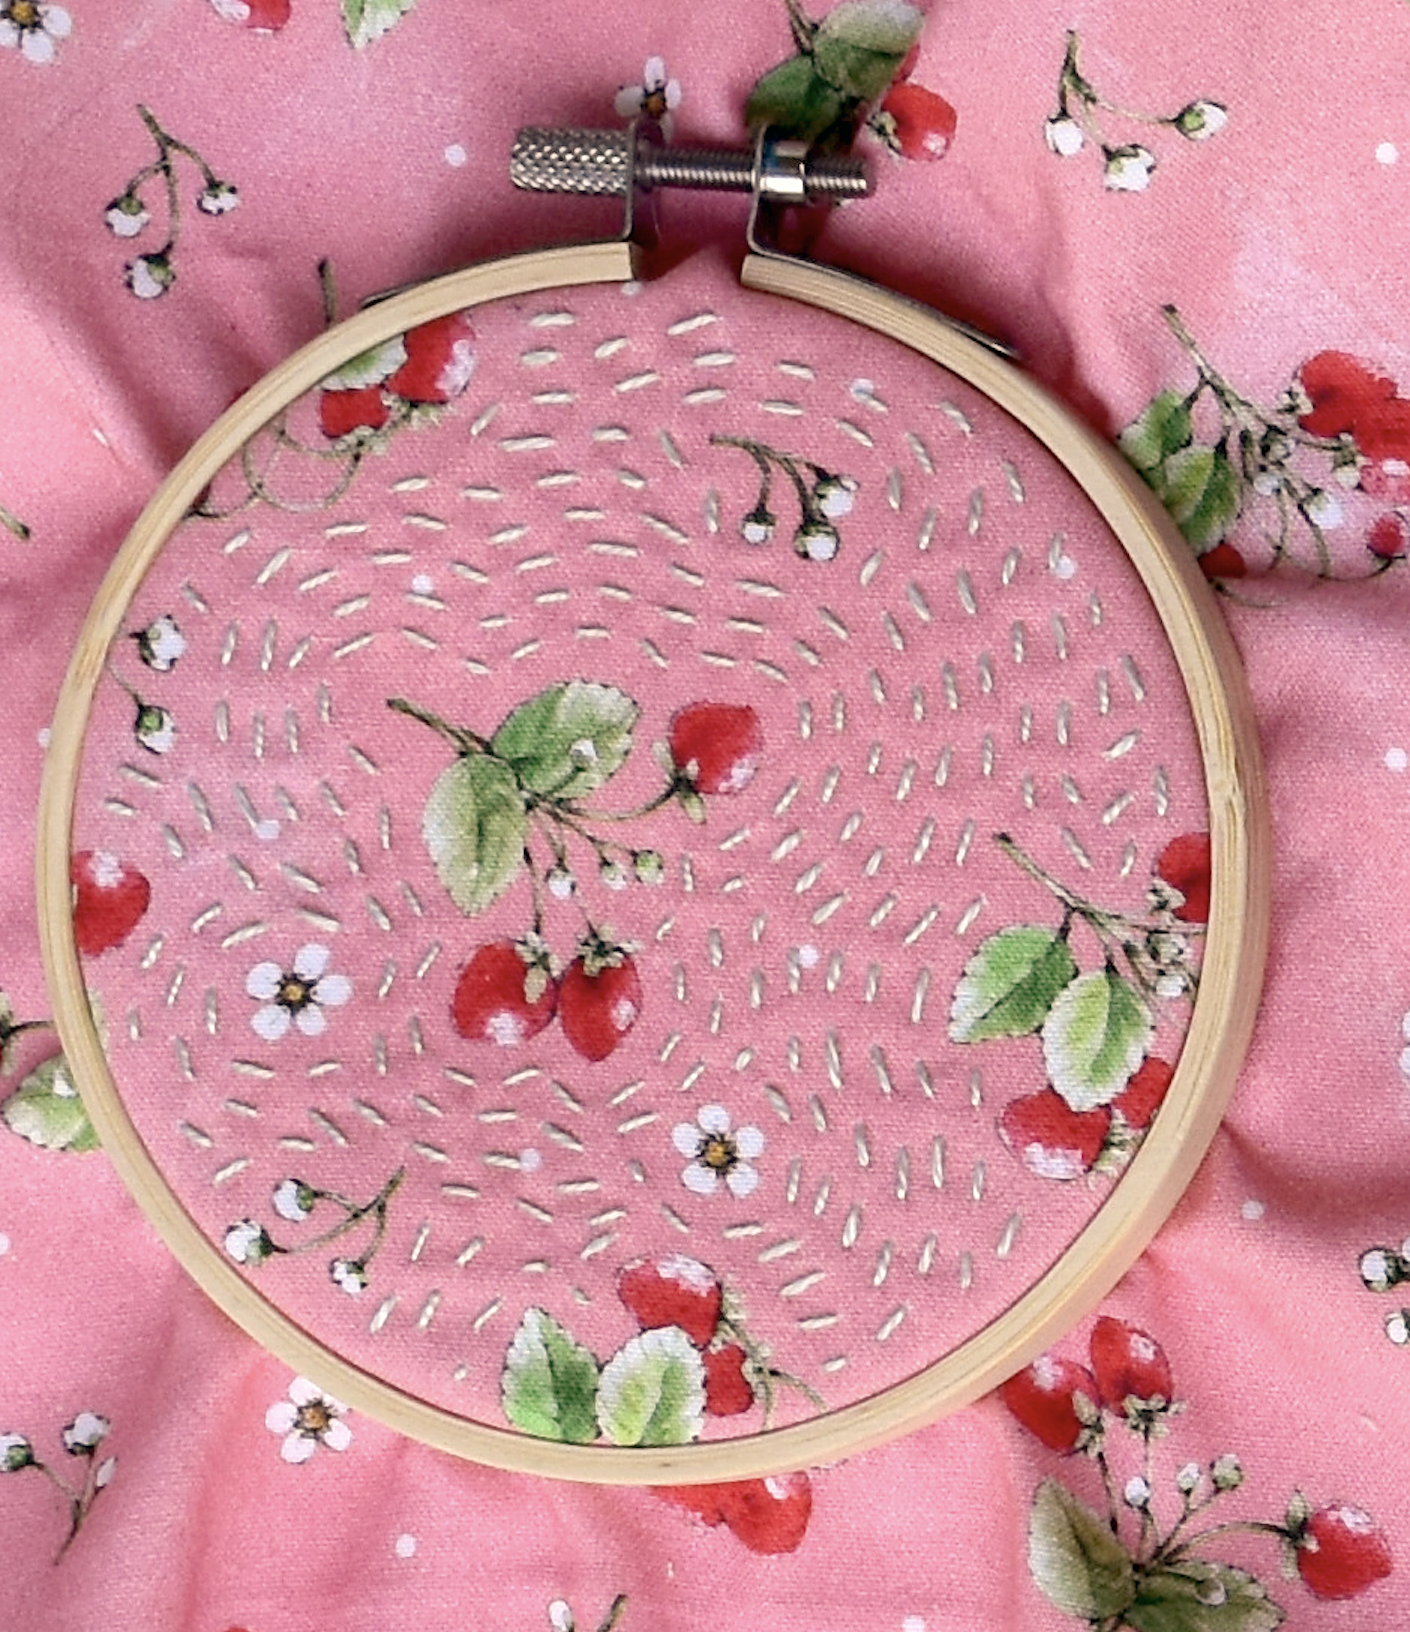


This is usually called a seed stitch and is meant to be random, but instead I did a swarm effect and made the seed stitches look a little directional.  That's usually a seed stitch faux-pas, but it was fun to explore nonetheless.  I went around in circles, spiralling out and around as I filled the hoop.  I used perle cotton thread in a pale blue.
...


I stitched little X's in 6 strands of Aurifil Floss in a pale robin's egg blue.
...

I'd love to know hoe you would embellish your favourite print!


Strawberries - A free pattern


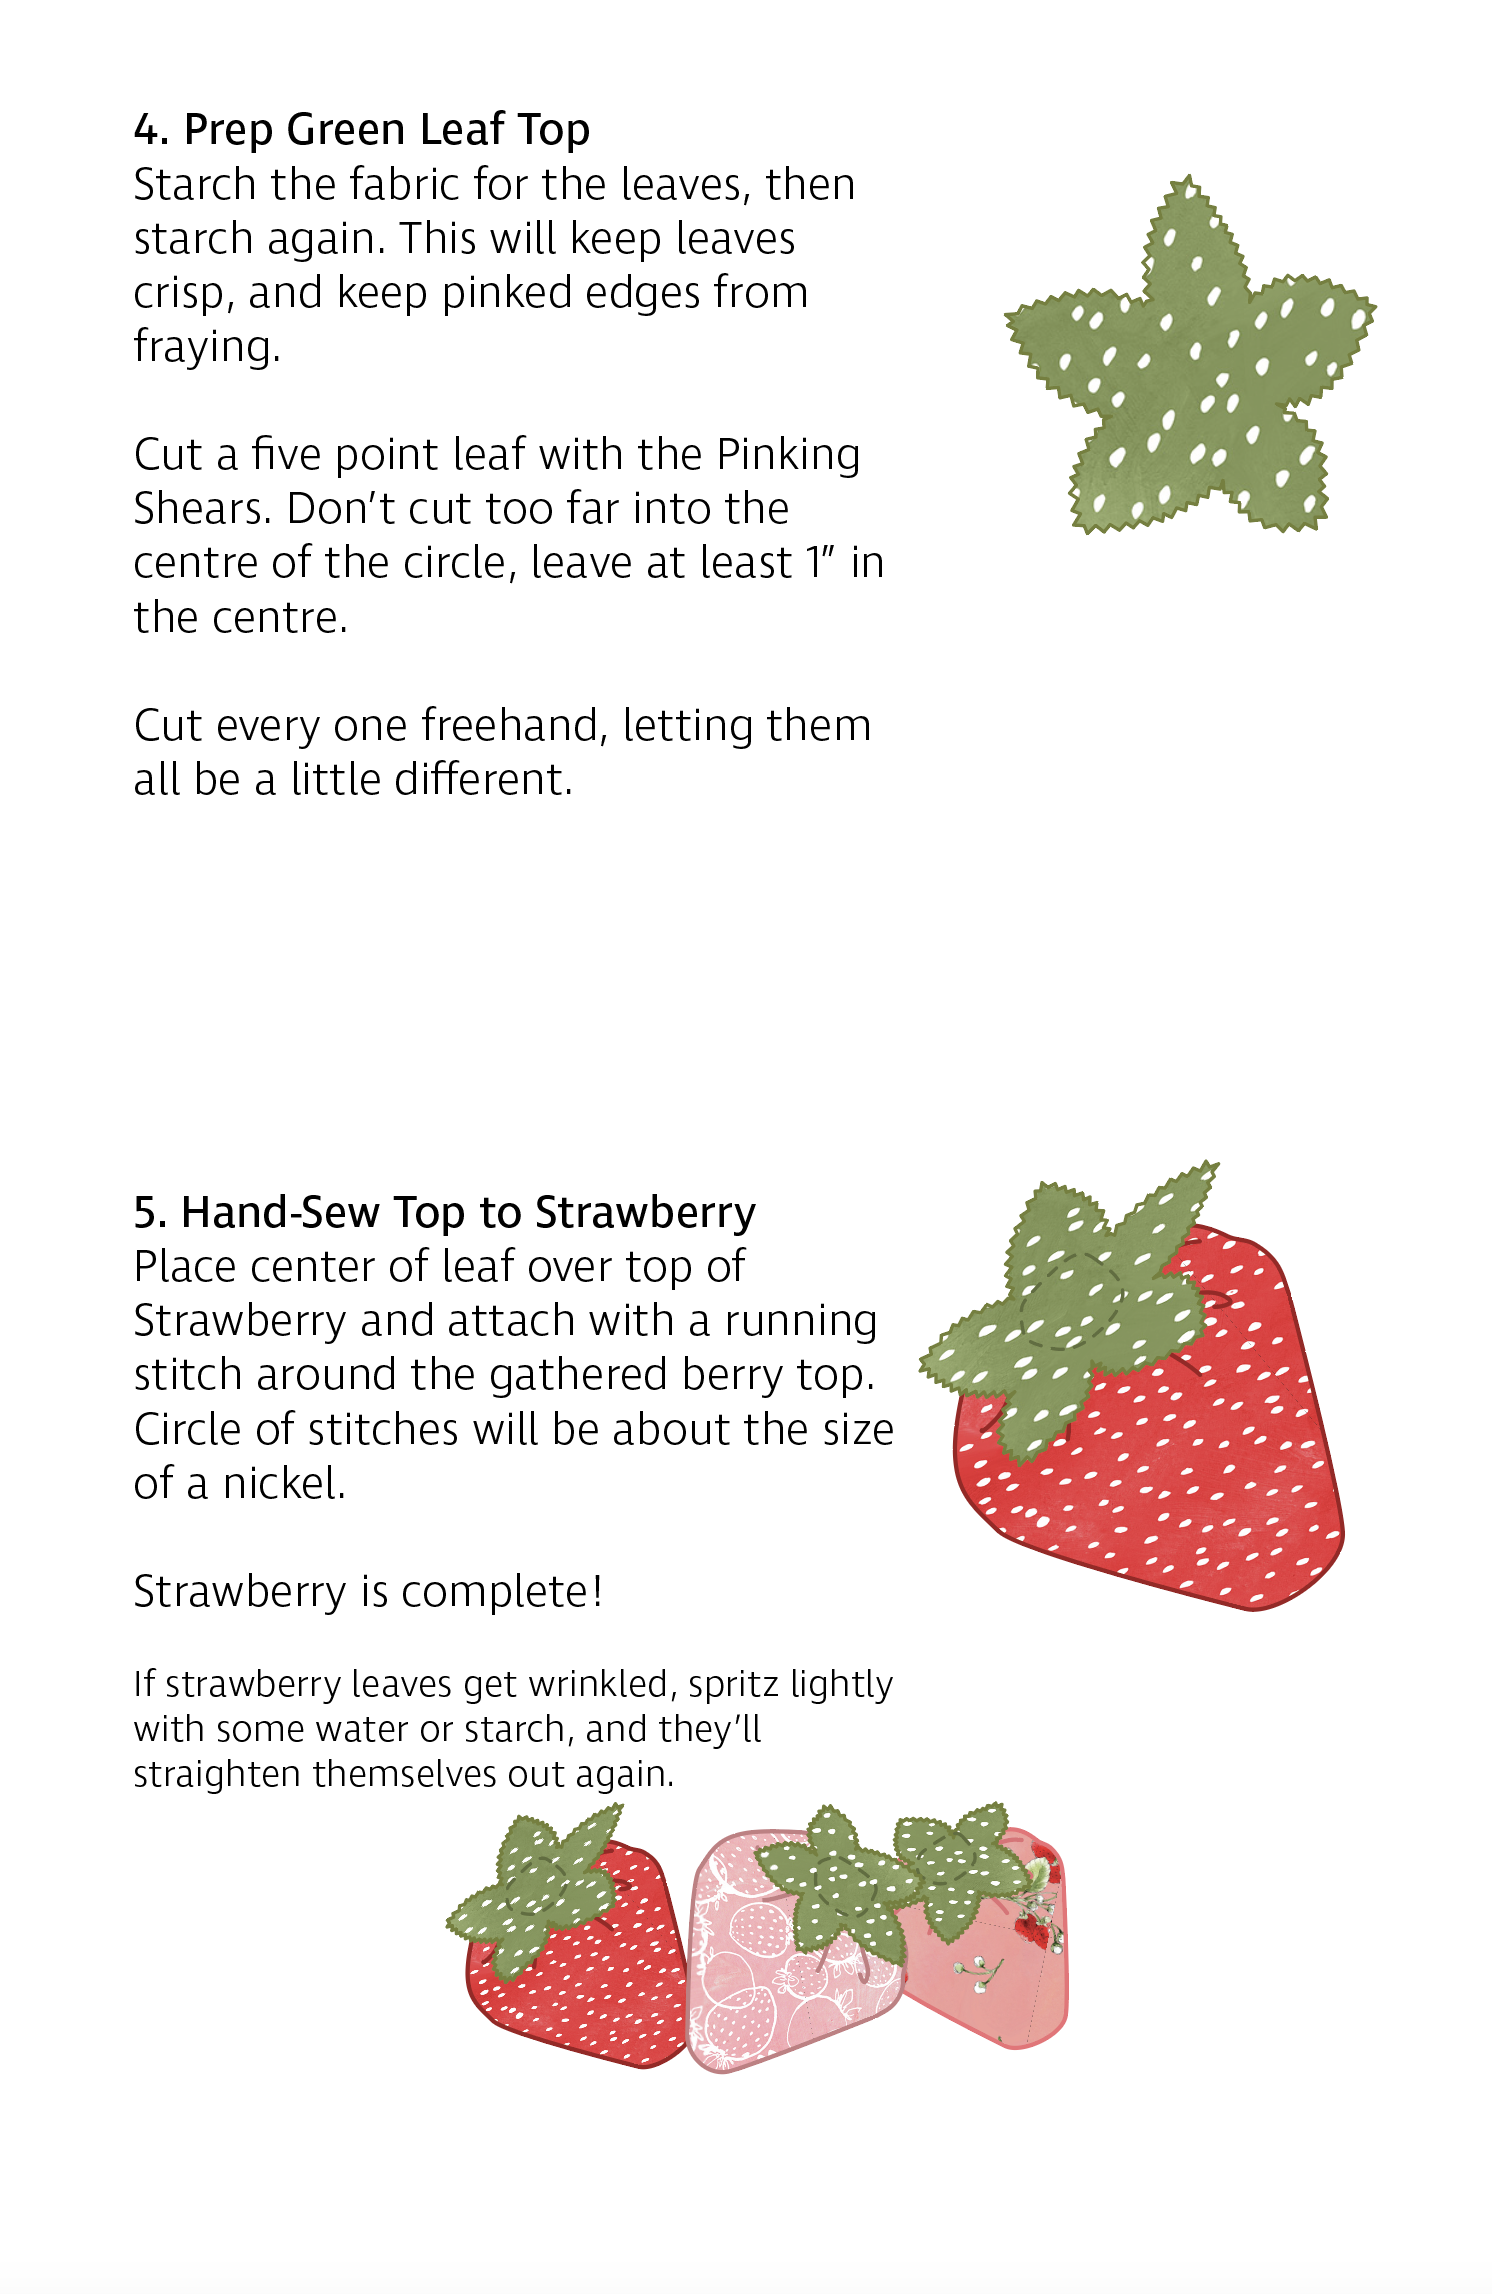
Making these little strawberries was so enjoyable.  I made them in with my daughters' help in May while anticipating strawberry season in my region.

Really, I was anticipating TWO strawberry seasons, since this is our new fabric line with Robert Kaufman, and we've named this beauty of a collection Strawberry Season.  Here's the Lookbook which you can enjoy until the fabric is available in stores in January 2024.
 

I'm so pleased to be able to provide you with a free tutorial to make your own! (Link to download here)


...
...
...

...


Jam Jar Block - A free pattern


Designing our new collection has been a lot of fun.  Strawberry Season will be in stores early 2024.  Here's the Strawberry Season Lookbook full of good reasons to look forward to spring!


I'm so pleased to get to share a free pattern with you!  It's the Jam Jar block!  And as another bonus, in the instructions, I've given you some guidelines to calculate larger projects.

Happy Sewing!


...

...
...
...


Bunny Lane

 Bunny Lane

We're so thrilled to be sharing with you collection number 4!

Bunny Lane is our first digitally printed collection, and that's very exciting for two girls who love colour!  Our other collections have been silk screened.  Though we've loved that process too, silk screening limits us to 16-18 colours per print; but colour is unlimited in digitally printed lines, so unlimited is really quite exciting!


Also, three prints in this collection will be printed in minky and will launch this fall.


Here's a link to our Bunny Lane Lookbook.  It includes two new quilt patterns from us, a free pincushion tutorial from us, and a few other patterns from other creatives.  We hope you'll check it out.

And, here's the collection!


Patchwork Twist Pincushion


Patchwork Twist Pincushion

A Biscornu pincushion is an eight pointed pincushion made with 2 squares.  But how is that possible?  It’s possible because of the “twist".


I'm so happy to share a quick tutorial on how to make this great pincushion. This pincushion is big, about the size of your open hand, and so I like its weight and have found this style fits well in my sewing room.  Also, the pinch in the center turns the shape into a  shallow bowl.  I find that helpful for holding clips. 


If this is your first time here, WELCOME! We hope you'll subscribe while you're here.  We'd love to share upcoming project ideas with you! 


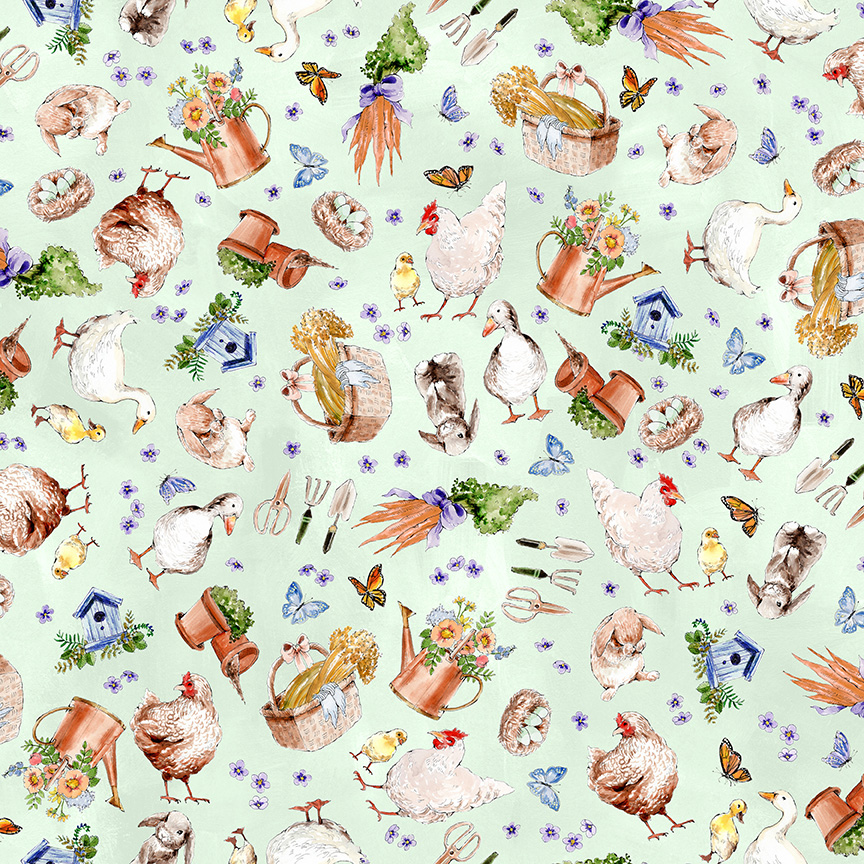
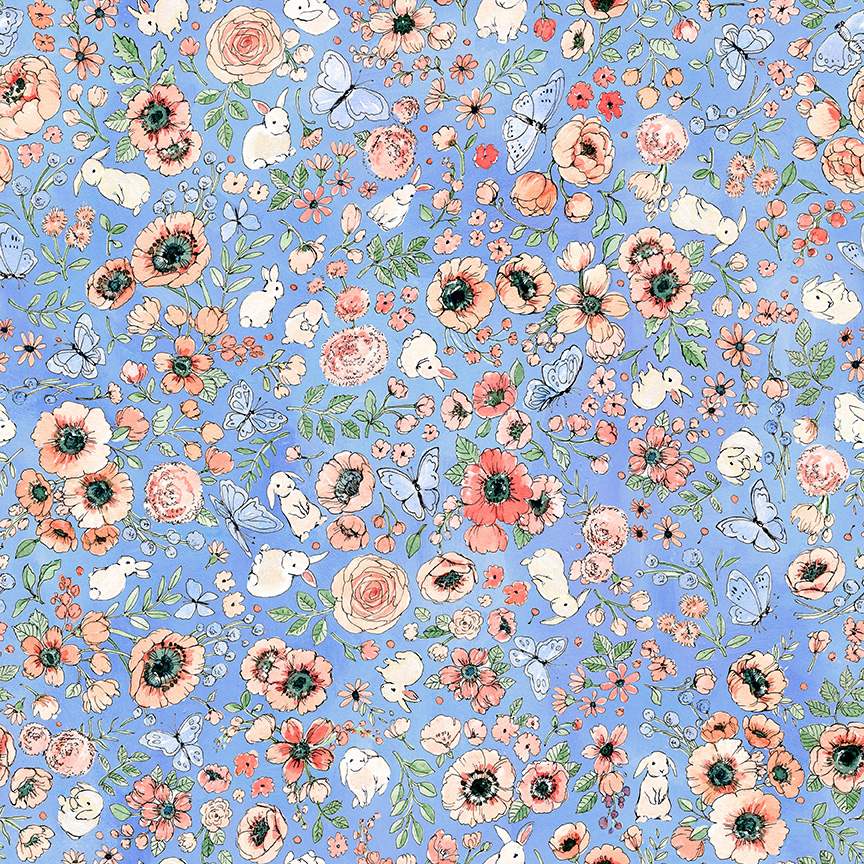
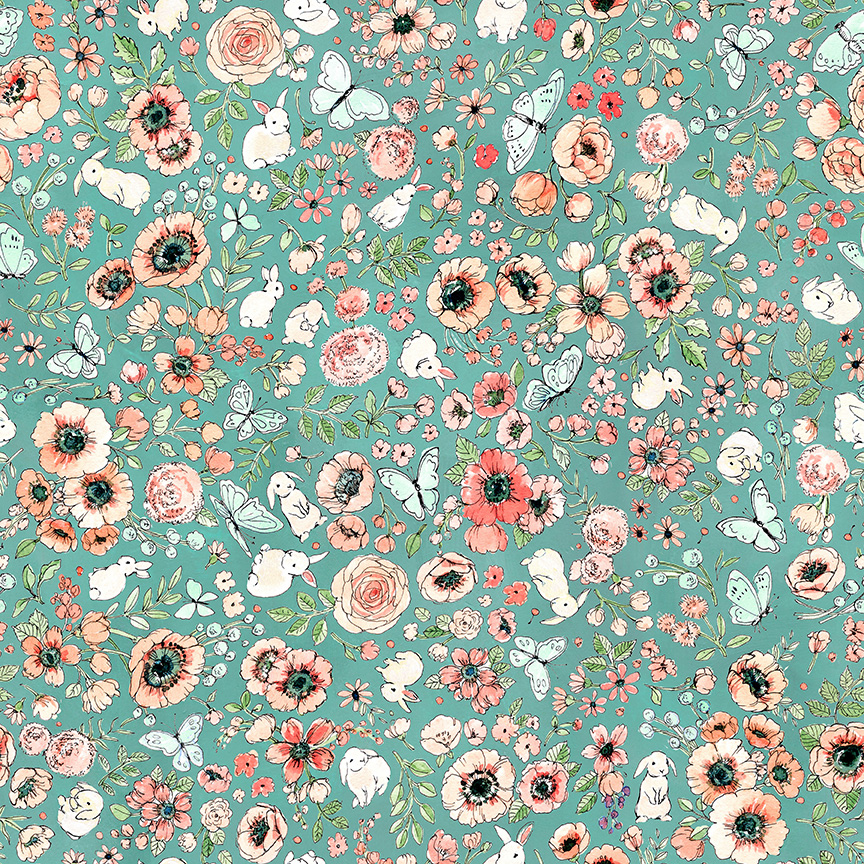
We made this free tutorial to celebrate the launch of fabric collection #4, Bunny Lane.  I'm in love with Caverly's storybook illustrative artwork for this collection.  Sweet Toiles, Wildflowers, Hide and Seek Bunny Calicos, Bunny Dots and Garden Tosses.  It's been a treat to sew with these fabrics, and I'm so thrilled the collection launches today, and now we will get to see what YOU make with the collection!  That's always the best part.


(You can make five pincushions with a charm pack, but these instructions are for making one.)


For this pincushion you will need:


Thirty-two 2” squares 

Two 6.5” squares of fusible fleece or fusible interfacing 

Fiber fill

Embroidery floss

Darning needle


Instructions:

Make two patchwork squares with 16 squares each (4x4).  Press seams however you like.  These will finish at 6.5”.


Topstitch 1/8” around both squares to keep seams from opening.


Press fusible interfacing to wrong side of both squares.


Now it’s time for the twist.  See in this picture how the sew line (shown in pink) is jaggedy?  This happens because we're sewing only the length of two patches, then pivoting. 


Imagine the square's 1/4" seam lines, and the corners and mid point marks as indicated by the dots
.


The way these two squares are sewn together together is twisted.  You will actually sew a corner of one square to a midpoint of the other square. As shown in this image...  


...But the above image is only to help you see the process.  The image below is how you will line things up at the sewing machine for your first segment.  See the pink sew line.  Line up your squares so that a corner is on a midpoint, and a midpoint is on a corner.  Start with a backstitch, and sew.  


Once you have come to the end of the pink line, with the needle in the down position, lift your presser foot and bring together the next corner and midpoint, shown by the arrow.  This will be sewn a total of seven times around the block, leaving one opening. Finish with a backstitch.


Turn inside out, poking out all eight corners.


Stuff until semi-firm. 


Use a ladder stitch or your preferred stitch to sew closed the final seam.


Cut three 16” pieces of embroidery floss.  Thread embroidery floss through your darning needle so you have 6 strands.  Sew through the middle of your pincushion from the top, then back.  Take the two ends of the floss, tighten to create a simple knot in the center of the pincushion, and tie a double knot.  Trim floss ends 1”.


Happy Sewing!  

Our Team

It takes a village of amazing people to make Briar Hill what it has become, and we are so thankful for all the collaborators and helpers who were part of our creative process, by testing our patterns, sewing samples or quilting.

Here's our list of projects and the friends who helped us brig them to life.  Also, below I've listed the business names of those who have collaborated with us, Caverly and Julia.

Bunny Lane Lookbook Projects
big thanks to creators Karen Chase, Kim Galley, Sarah Blades, Gillian McDougall, Mary Guildford, and pattern testers Beatrice Matheson, Paula Hampton and Jane Barnhill

Canada 150
Chantelle Abarca

Starbright
Kathleen Scully, Sheri Lund

Afternoon Sun
(just Julia)

Crystal and Gem
Samantha Whitaker, Sheri Lund, Chantelle Abarca, Kim Galley

Garden Lattice
Sheri Lund, Kim Galley

Train Station
Dorie Hruska, Kim Galley, Joanne Harris

Barn Doors
Sheri Lund, Madge Phillips

New Spring
Sheri Lund, Gabrielle Robles, Annegret Pohl, Anita Skellanger, Chantele Abarca

Glimmering
Sheri Lund, Chantelle Abarca, Kim Galley, Sharon Hartling

Best Dressed
Kim Galley

Dapper
Sheri Lund, Kim Galley

Potter's Wheel
Sheri Lund, Kim Galley, Chantelle Abarca, Madge Phillips

Petticoat
Dara Tomasson, Kim Galley, Cate Callard, Karen Chase

Botanica
Sheri Lund, Jan Kaye, Jennifer Wiltrout, Janie Sims

Sweet Bloom
Dara Tomasson, Gillian Noonan, Kim Galley, Jennifer Wiltrout

Thorn and Thistle
Dara Tomasson, Joanne Harris

Shawl
Sheri Lund, Judy McKay, Kim Galley

Prim Pillow
Gillian Noonan, Kim Galley

Mulberry
Anja Clyke, Helen Kirk, Sheri Lund, Julie Ott, Sue Vinyard, Debbie Thompson

Cameo
Dara Tomasson, Janie Sims, Cami Russell

Starstrung
Sheri Lund, Kim Galley, Janie Sims, Jan Kaye

Yonder
Chantelle Abarca, Eleanor Thili, Debbie Thompson

June's Cottage Lookbook
Hobbs has happily supplied batting for the June's Cottage Lookbook and I continue to use it.
Karen Chase sewed the dress on page


Bequest Lookbook
Fiona Kelly of Tangled Blossoms has made the 'Companion Carpet Bag'
Quilts were quilted using Aurifil thread
The 'Jane Dress' by Violette Field Threads was made by Sophie Bizier of 'Sooo Fun Design'
'Harmony Skirt' is by Rachel Rossi Design


_____

Sheri Lund is the heart and soul of Violet Quilts.  She's located in Fall River Nova Scotia, and does custom computerized and E2E work on her Gammil Statler. Any FMQ I have done has been on her second Gammil, Bella.

Dara Tomasson of Stitched Quilting Co has been our collaborator with our Coast to Coast Quilt Along, a monthly mini including lessons on piecing, and free motion quilting. Dara has also free motion quilted many quilts as listed above.

Karen Chase is a modern quilt designer located in Nova Scotia, Canada

Fiona Kelly of Tangled Blossoms is a handbag maker, and online quilt fabric shop located in Bridgetown, Nova Scotia


Yonder Quilt Along Week 6, June 3rd

Final week!

Get 'er done week!

You WANT to get this quilt top this week because the final giveaway prize is that good!

SO good!

Maybe you've already done the math and figured out that Cotton + Steel must be part of the final giveaway, and you'd be right!


This is Snow Flowers, by Oka Emi.  I'm captured by her artwork!

Before the fabric was in print, C+S asked me to make some digital renderings of my quilt patterns in this line.
Here it is in Starbright,

 Starstrung, (some C+S basics are included in this rendering, but are not part of the bundle)


 ...and Petticoat.
(I'm tempted to host a QAL in the Fall with either Petticoat or Starstrung, what do you think???)

So the Final Giveaway winner will receive the Snow Flowers bundle AND a 6-month subscription to  the Make Modern Magazine!
Week 5 Winner:
Congrats to Jen @hilljj25! You've won the Yard Quilt from Quilt Designs in the Yard! (Give them a follow if you haven't already.)  I'm so excited for ya, Jen!  Email me with your mailing address and phone number and Brenda will mail your prize to you.


Tips for the week:
Sewing the blocks together goes so fast.  That's part of the magic of big blocks!  When you sew blocks together, the seams within the block will not nest, these will have to be matched up with out nesting.  I thought long and hard about how to make the entire quilt nest, and it could have.  But it would have required you to know where you were putting every block in the quilt almost from the beginning, and that added a level of confusion to the pattern I didn't think was worth the fuss.  The seams from sewing blocks together will nest if you press the seams as suggested in the pattern.

As soon as my quilt is assembled, I am in the habit of running a line of stitching around the entire quilt top 1/8" in from the edge.  This keeps seams from opening, or seam allowances turning the wrong way.  It's referred to as stay-stitching, and can be done in a larger stitch length, 2.5 - 2.8.

Pattern Matching a printed fabric:
I thought I'd share this for down-the-line when you're ready to finish your Yonder and make your backing.  This week's goal is to have an assembled quilt top/flimsy, so batting, backing, quilting and binding can come at a later date.

Have you ever tried matching the print on a piece of fabric?  One of my favourite parts of the quilt-making process is choosing a backing with a printed design, and matching the print so that the design looks continuous across the entire backing.  It's my Superpower!   It can be yours, too!  Check out my blog post, Invisible Pieced Backing.


My finished quilt top:
Last week, I assembled my QAL Yonder blocks into a quilt top!  This quilt is a mashup of following the pattern's cutting instructions, and the two bonus tutorials: Using fat quarters for the Yonder Quilt, and Using directional prints with Yonder.  My husband and I are shopping for a small chair for our room that we can use to meditate in.  This matches the room well and will be the perfect lap quilt.  I'm tempted to make a matching roll pillow with my leftover bits! 


Well, 7 days left!  This week's work is pretty light, so if you're behind, you might still be able to have a quilt top by Sunday night and qualify for the giveaway.  Either way, tag me in your Yonder posts so I can watch your quilts come together!