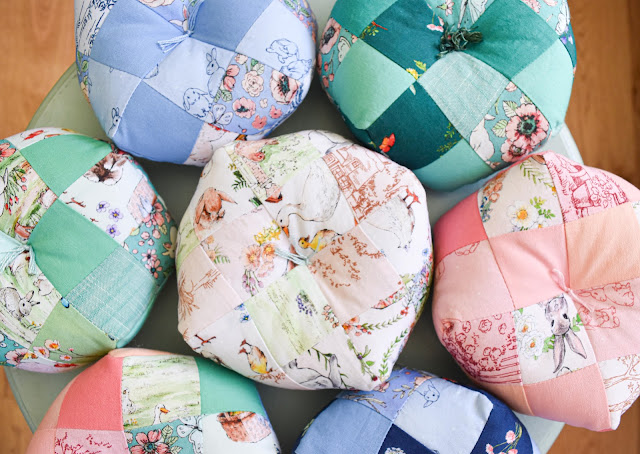
Patchwork Twist Pincushion
A Biscornu pincushion is an eight pointed pincushion made with 2 squares. But how is that possible? It’s possible because of the “twist".
I'm so happy to share a quick tutorial on how to make this great pincushion. This pincushion is big, about the size of your open hand, and so I like its weight and have found this style fits well in my sewing room. Also, the pinch in the center turns the shape into a shallow bowl. I find that helpful for holding clips.
If this is your first time here, WELCOME! We hope you'll subscribe while you're here. We'd love to share upcoming project ideas with you!
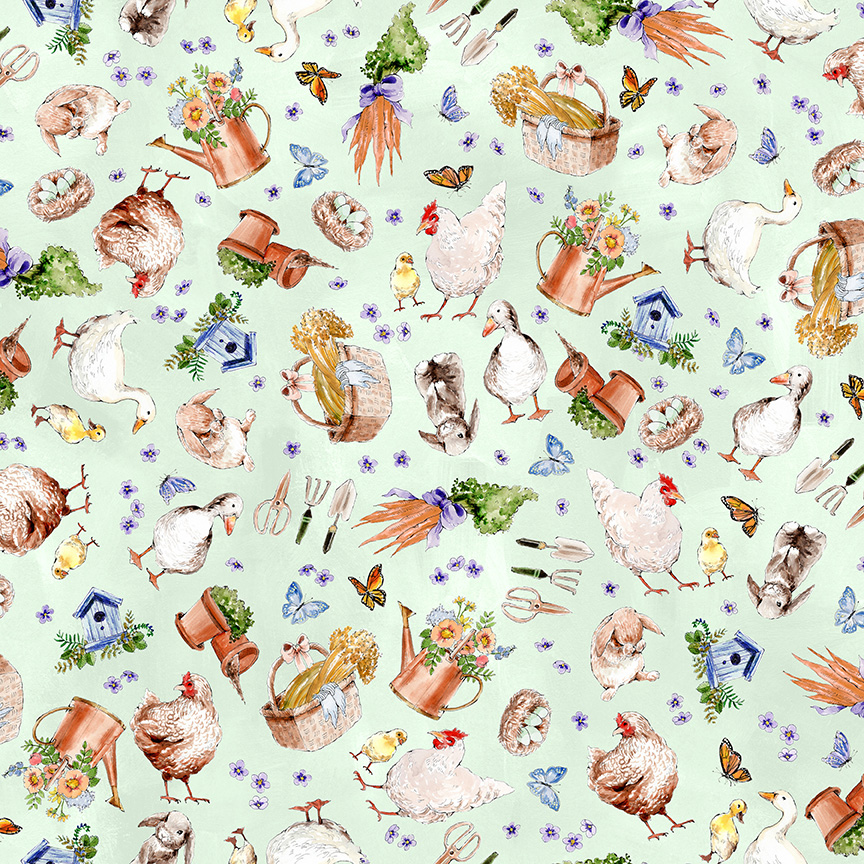
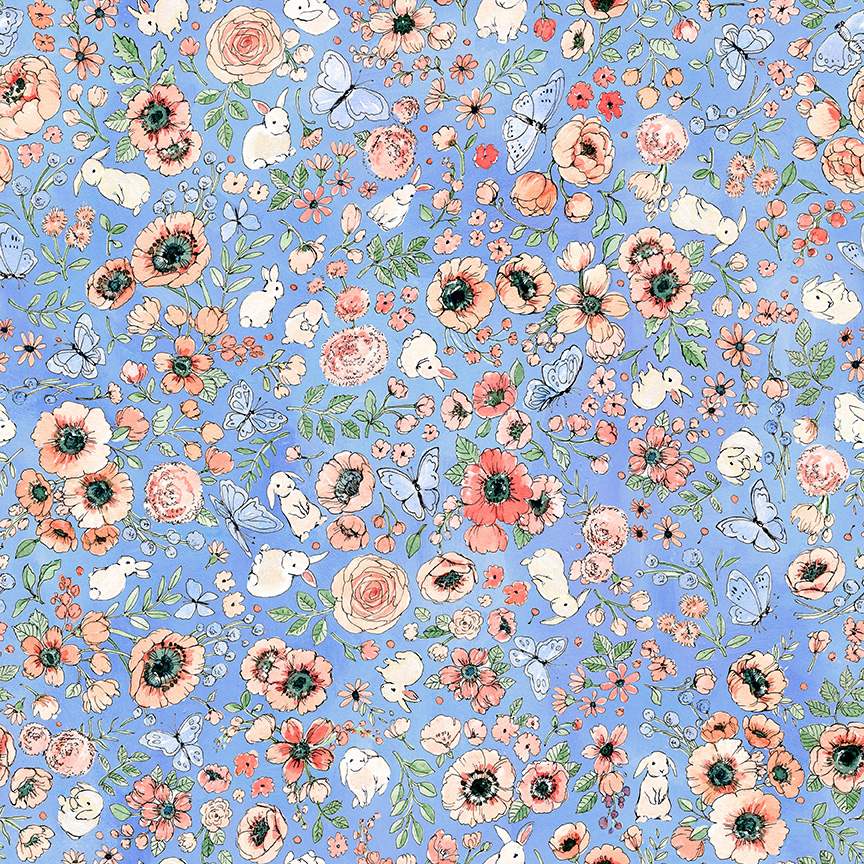
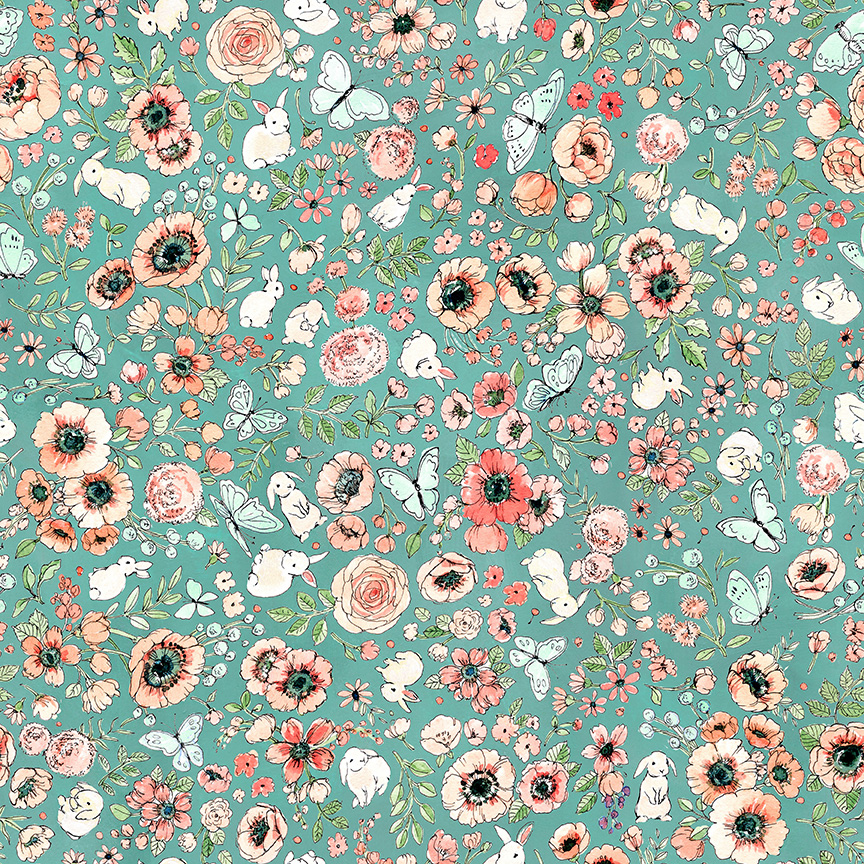
We made this free tutorial to celebrate the launch of fabric collection #4, Bunny Lane. I'm in love with Caverly's storybook illustrative artwork for this collection. Sweet Toiles, Wildflowers, Hide and Seek Bunny Calicos, Bunny Dots and Garden Tosses. It's been a treat to sew with these fabrics, and I'm so thrilled the collection launches today, and now we will get to see what YOU make with the collection! That's always the best part.
(You can make five pincushions with a charm pack, but these instructions are for making one.)
For this pincushion you will need:
Thirty-two 2” squares
Two 6.5” squares of fusible fleece or fusible interfacing
Fiber fill
Embroidery floss
Darning needle
Instructions:
Make two patchwork squares with 16 squares each (4x4). Press seams however you like. These will finish at 6.5”.
Topstitch 1/8” around both squares to keep seams from opening.
Press fusible interfacing to wrong side of both squares.
Now it’s time for the twist. See in this picture how the sew line (shown in pink) is jaggedy? This happens because we're sewing only the length of two patches, then pivoting.
Imagine the square's 1/4" seam lines, and the corners and mid point marks as indicated by the dots.
The way these two squares are sewn together together is twisted. You will actually sew a corner of one square to a midpoint of the other square. As shown in this image...
...But the above image is only to help you see the process. The image below is how you will line things up at the sewing machine for your first segment. See the pink sew line. Line up your squares so that a corner is on a midpoint, and a midpoint is on a corner. Start with a backstitch, and sew.
Once you have come to the end of the pink line, with the needle in the down position, lift your presser foot and bring together the next corner and midpoint, shown by the arrow. This will be sewn a total of seven times around the block, leaving one opening. Finish with a backstitch.
Turn inside out, poking out all eight corners.
Stuff until semi-firm.
Use a ladder stitch or your preferred stitch to sew closed the final seam.
Cut three 16” pieces of embroidery floss. Thread embroidery floss through your darning needle so you have 6 strands. Sew through the middle of your pincushion from the top, then back. Take the two ends of the floss, tighten to create a simple knot in the center of the pincushion, and tie a double knot. Trim floss ends 1”.