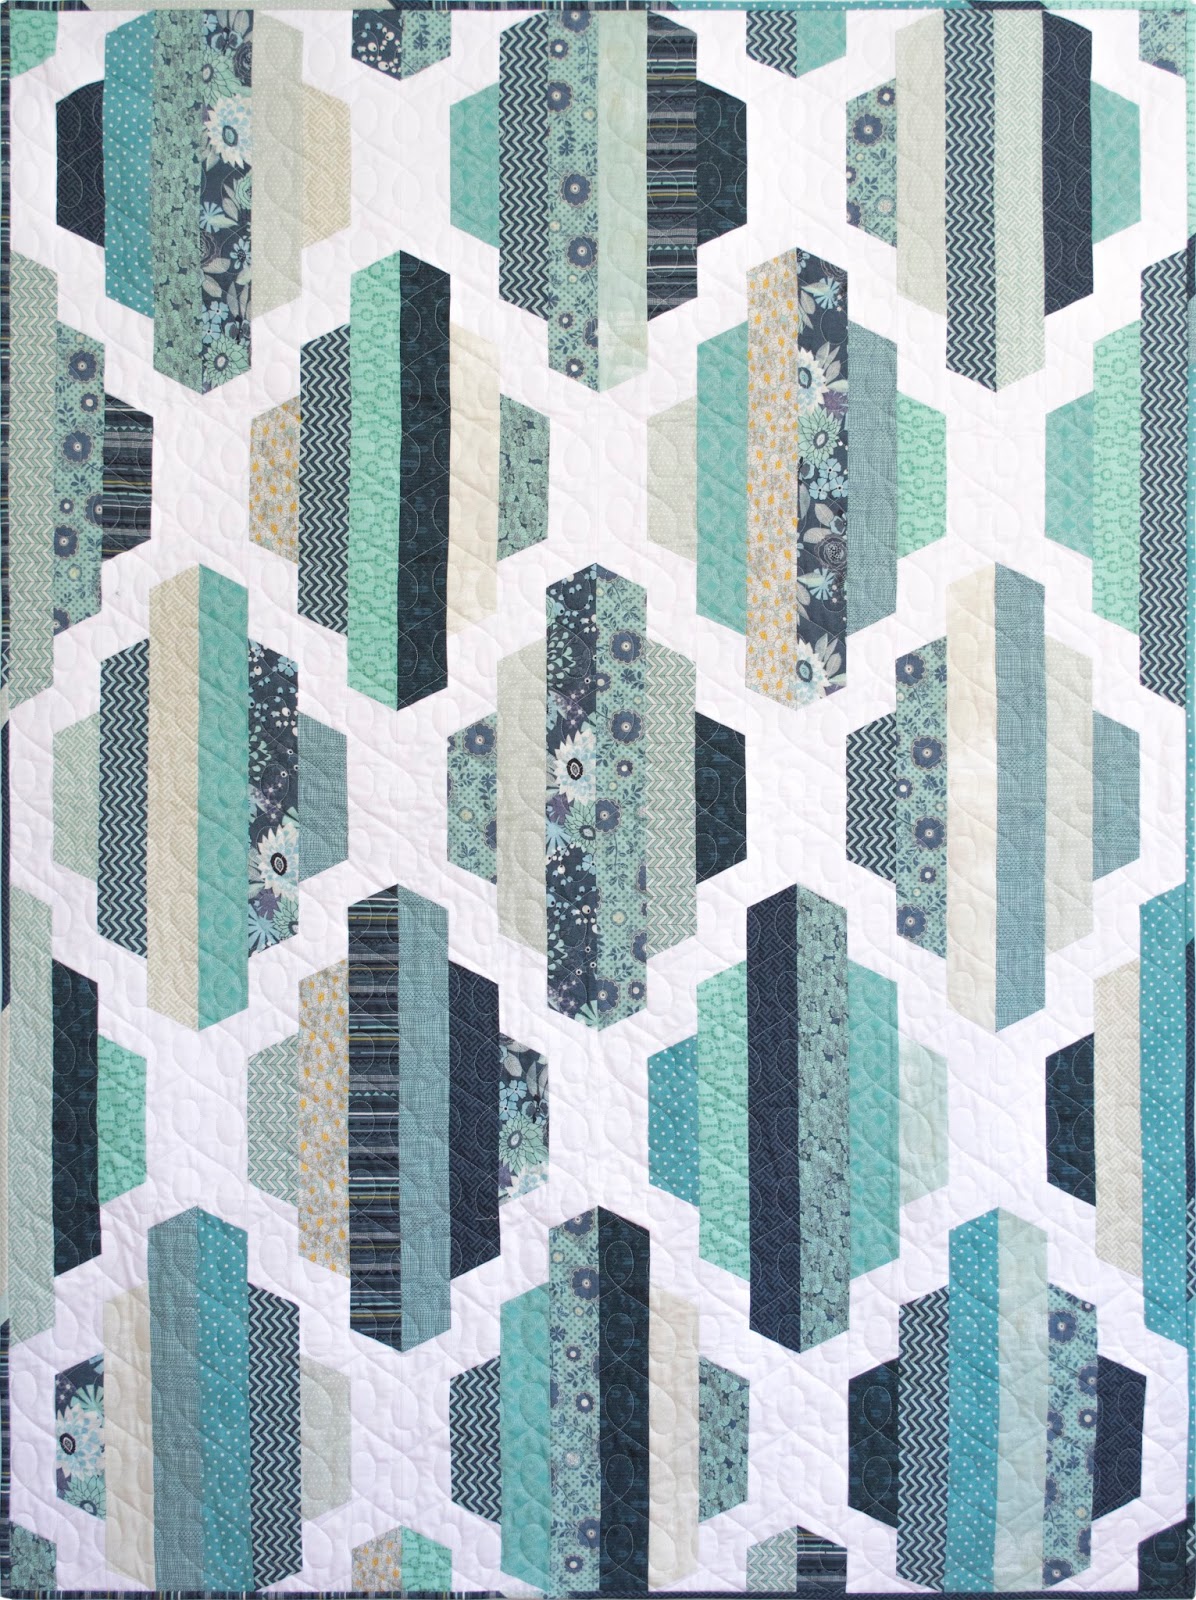
Besides cutting out all my fabric pieces for the quilt top, this is my second favourite part of the quilting process - piecing the backing. I like to match up the print on the fabric panels so the pattern is continuous and the seam almost disappears. Making that seam almost invisible makes me feel like I have a superpower.
There are two panels of fabric in these pics. Do you see the seam in this pieced backing?
I’ve been piecing panels of fabric together like this since my first duvet cover at 18 years old, and since then, my method has improved some, and I’m going to show you how I do it!
Selecting your backing:
Premium Quilting Cotton prints are usually about 42” wide, and since most quilts are quite a bit wider than that, you often need two panels, sometimes three, if your quilt is more than 72” wide.
Let’s just say your quilt is 60” x 70” Here’s how you regularly do the math:
The quilt is 60” wide, plus 10” extra width for the quilting process, so I’ll need 2 panels of fabric.
The quilt is 70” long, plus 10” extra length for the quilting process, equals 80”.
Multiply 80” x 2 panels: I’ll need 160” of fabric.
This is great! But, unless your print is a teeny gingham or stripe, it’s quite unlikely you’ll be able to make a backing that looks like one big sheet of fabric.
The magic of making this work is the Repeat. The repeat measures the length of the print on the fabric before it repeats vertically. That’s the technical way of saying the repeat is the distance between this cute flower and the identical cute flower. Or this star and it’s identical twin. It’s the length of the printed pattern before it repeats itself.
As far as premium quilting cottons go, most prints will have a vertical and horizontal repeat of 2”, 4”, 6”, 8”, 12” or 24” (intervals of 24 because the silk screens they use for printing are 24” x width of fabric). Adding the repeat into your calculations will allow you to have all the fabric you need.
Here’s the backing for my Crystal & Gem quilt.
The repeat is 6”
Let’s do the same calculation above adding the math for the repeat.
The quilt is 60” wide, plus 10” extra width for the quilting process, so I’ll need 2 panels of fabric.
The quilt is 70” long, plus 10” extra length for the quilting process, equals 80”.
Is 80 a multiple of 6? (does 6 divide equally into 80?) no, so I’ll have to round it up to the next multiple which is 84 (6 x 14 = 84)
Multiply 84” x 2 panels + one extra repeat (6) : I’ll need 174” of fabric.
If your fabric has a half drop, (meaning the fabric’s repeat tile doesn’t continue straight across the width of your fabric, but drops in every second repeat across the fabric), double the number of the repeat. If that was the case with my fabric, my repeat would change from 6” to 12”.
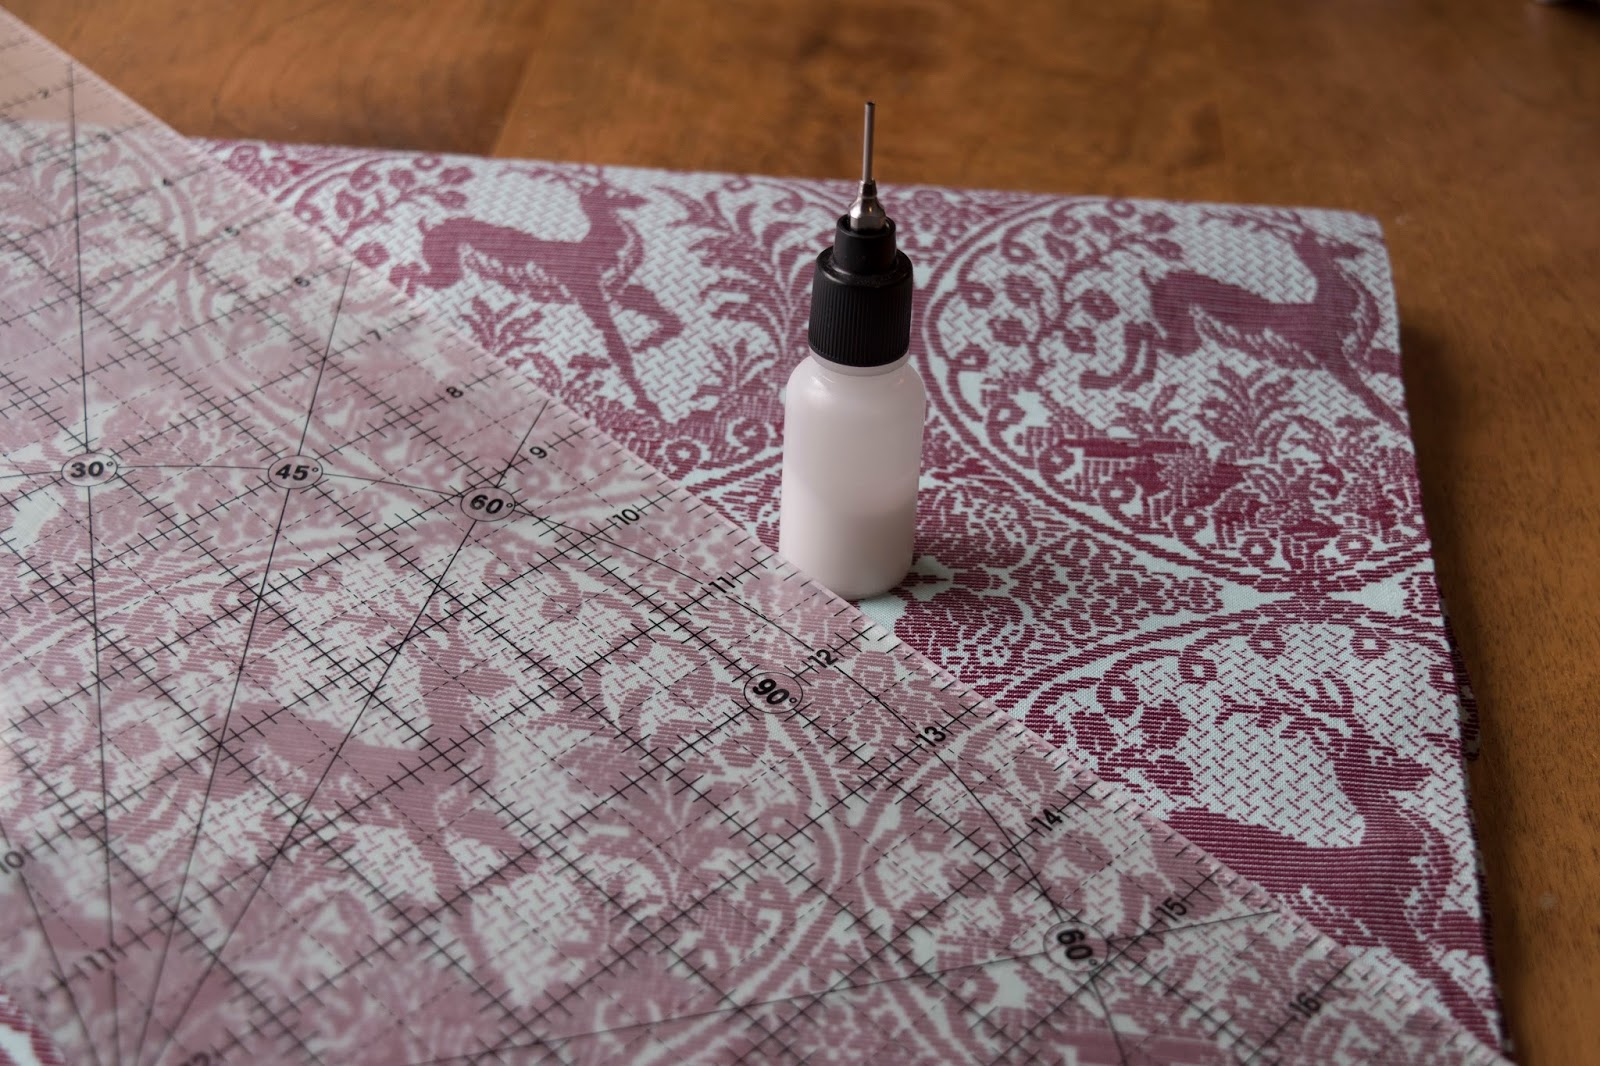
Next, cut the length of your panel from your continuous 174” of fabric for backing. Lay them side by side and give-or-take a couple inches, you should be able to find where, if you fold back the selvedge the pattern continues!
On one panel, select a reference point about the size of the point of a pencil where you will fold back your selvedge edge. I recommend being at least 1” away from the selvedge edge because the selvedge is often tighter than the weave of the rest of the bolt. Once you’ve selected your point, turn your fabric wrong side up on your ironing board, fold back and press your fabric to those reference points, you may find additional reference points emerge within your repeat. Continue pressing down the length of your fabric.

I said a little rhyme to myself as I went, “inside the loop, edge of the eye, inside of loop, edge of the eye. NOTE: It’s very natural to pull the fabric to get a straight line pressed into your fabric, but avoid doing this, because it will stretch the fabric and the repeats won't match as easily. But if you do, with some steam, you can press the ease/stretch back into the fabric. Iron a few inches away from the edge then slide the iron towards the folded edge. This should put everything back in place again.
Continue pressing the fold all the way down the length of your fabric.
Trim the selvage off of the side of the panels that will be sewn together. As I mentioned before, often the selvage is tighter than the rest of the fabric, so it's best to cut it off. Trimming away 5/8" is often all that's necessary.
Now, you will need both panels of your fabric on the ironing board, right sides up. Your panel with the pressed fold should be beside your second panel. Your second panel will be longer than your first panel, and since your first panel is cut to the correct size, you can arrange your second panel however many inches above your first panel to match up the repeat.
(And if you don't know Sharon Schamber, get to know her through her you tube videos for starters! She is an exceptional quilter!)
A tiny stream of this glue, heat pressed, holds the layers of fabric together until they are easily popped apart, or the quilt is washed.
I've put my glue in a bottle with a teeny nozzle.
This is where we'll use the glue! Now, there are plenty of fantastic water soluble fabric glues on the market. Sharon Schamber suggests this glue, and because I think she's amazing, I trust her. This school glue is made with natural products, I guess in case some kid decides that they didn't have enough in their lunch, so if it's kid safe, it's fabric safe too. I’ve also seen this method using a fabric safe glue stick, too!
Working on the first 10" approximately, Place a small stream of glue on the underside of the folded edge, then place it directly over the print on the other panel, so that that pattern repeats perfectly horizontally and vertically. You can shift things around a little, that won't keep the glue from holding once it’s heat set. Once it is just right, a hot iron and steam will set the glue, then you can proceed to the next 10", and continue this process down the length of the quilt.
Next, bring these panels to your sewing machine, using a matching thread and a stitch length of 2.0, sew these two panels together by stitching in the crease made when you folded back the edge on the first panel. There may be a few places where the fold is glued closed and keeping you from getting into the crease. Just pop the glue apart, and continue to stitch directly in the crease.
With your first panel being cut to length, your second panel will be a little longer at the top and bottom. Cut these to the same length as your first panel.
You're done! And now you have this superpower too!
Admire you handiwork, (you're the best!) and imagine all the ways that this skill could be used in your sewing adventures! Bags, Pockets, straight seams in clothing, or hiding the fact that you didn’t have enough of that fabric left to cut a pattern piece all in one piece… ;)
One more step for a happy backing is this! Starch! Whether you are quiting your quilt on a domestic machine or sending it to your longarmer, a well starched backing keeps the fabric from pouching, pinching, waving or warping. I starch the right side of the fabric, leave it for 2 minutes for the starch to sink in to the fabric then press on the wrong side of the fabric. I then repeat this same process by starching the wrong side of the fabric, then pressing on the right side.
Especially if you are quilting on your domestic machine, you'll find this makes an improvement to the look of the back of your quilt!
When my Mom first taught me how to sew at 11, we made a loose fitted dress with a dropped waist, gathered skirt, and pockets on the sides. She taught me that it was just as important for clothing to look good on the inside as well as outside and so we lined, it, and paid attention that the zipper and hem looked good inside and out. I didn’t really think it mattered so much, but one day in grade six, I bought the dress to school to wear it for my small role in an Anne of Green Gables play. My teachers heard that I had made the dress with my Mom. I passed it to them and they oohed and aahed at the dress, and then, when they peeked inside, they were even more impressed, at all the finishing touches and I realized maybe my Mom was right.
I think this applies to quilts too! You expect that your quilt top will be a stunner! But adding a stunning backing is not always expected, and piecing it to perfection can bring an even wider smile! Which is why we quilt, right? :)