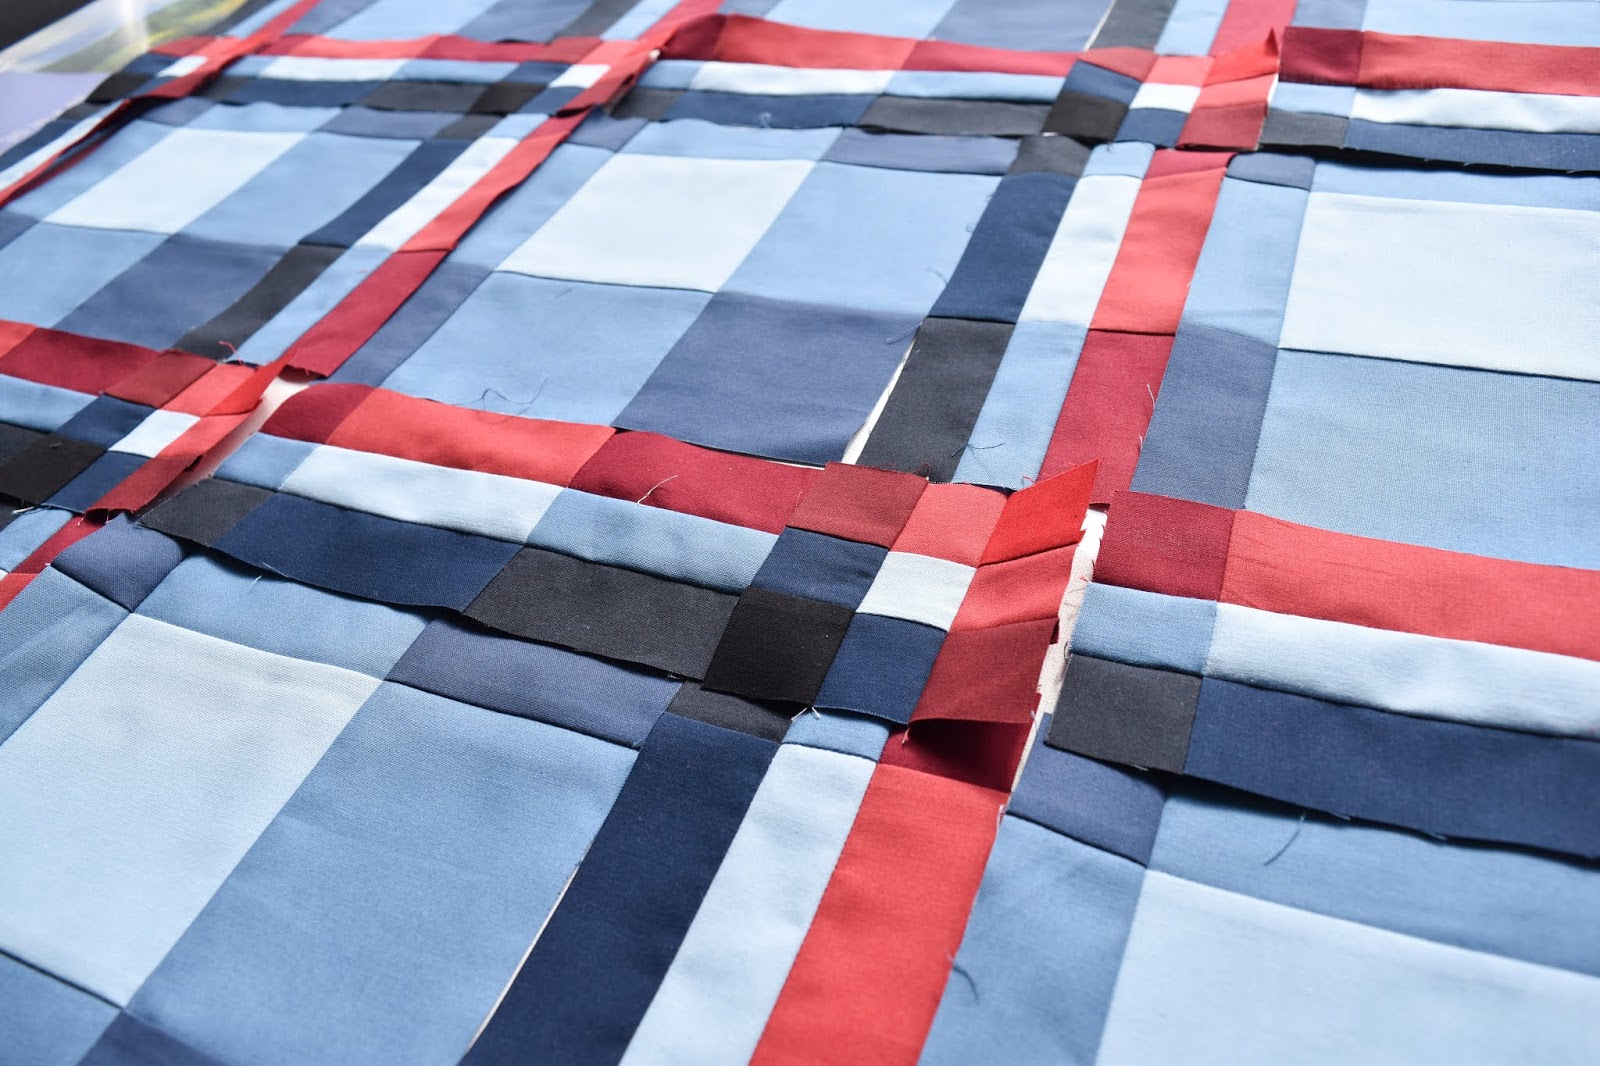
Yonder Quilt Along, WEEK 2, May 6th

Week 2!

We're taking our pretty piles of fabric and sewing blocks this week!


Congrats to Jessica @cuzchica!  You've won the Aurifil bundle of 3 threads of your choice plus a pattern from my shop!  Send me an email with your three thread preferences!


This week's giveaway is a 6 month membership to Make Modern Magazine!  I love Make Modern.  Imagine the creative inspiration that would come in issues with this epic magazine!

I was once a Covergirl on a Magazine!
It was actually Make Modern, and it was actually my Potter's Wheel quilt, but that's all beside the point.

An announcement:
We have two amazing Longarm quilters that are welcoming your quilts for longarm service, and offering special discounts to you.

Sheri of Violet Quilts is located in Fall River NS, and is my local longarmer.  She has quilted over half my quilts!

Dara Tomasson is in Nanaimo BC, and is well known for her custom longarm quilting.  She's my go-to for custom quilting.

Both of these lovely quilters are offering 25% off of batting and 10% off of longarm quilting services on all Yonder quilts.  It would be a great idea to be in touch and book with them in advance if you're interested!

This week's task:
This is the week we get to start sewing blocks.  Our goal is to sew a third of our blocks:

Bassinet:   1
Throw:      5
Twin:        8
King:       12

If you're not finished last week's goal, no probbie! I bet you could be all caught up in no time.  Week 1 is the only heavy work week, so you can adjust your goals for Week 2 by getting Week 1's work accomplished and letting some of this week's task overflow into next week..


I find the Yonder blocks such a satisfying block to sew, and since efficiency is my favourite thing, I've got a sewing-yonder-blocks method I'd like to share.


My tips for efficient sewing:
Please note: I am still following the instructions as they are in the pattern, so keep the pattern's instructions nearby as you sew your blocks. I'm showing how I sandwich the steps to do multiple steps in one bite. 
In sharing this I'd also like to say, if these methods aren't your style you do what works for you!  These methods work for me, and could be helpful for others, but you find a groove that's a good fit for you.

1.  Assembly line piecing / Chain piecing:  I love these methods so I don't have to trim threads while I'm assembling.  I zoom multiple pieces through the machine at one time, and I find it saves me time and effort.

2I start one block at a time, so I don't get parts of blocks mixed up.  As you'll see in the videos below, I assemble a block in 3 sittings at the machine.

Though I don't show it in the video, I often start piecing an additional block during the second or third video, (and these wouldn't get mixed up with the original block because they're in different stages of completion.)

3.  I'm not pinning (but you can).  If you follow pressing directions suggested in the pattern, all intersecting seams in the block will nest, so I nest the seams and hold the pieces together until they go under the presser foot.

4.  When assembling both types of "house units", I finger press seams so I can add additional pieces without having to get up and press the pieces open at my iron.


Video 1:
This first video shows how far I can take the blocks at one sitting at the machine.  I sew D to C3,  both types of "house units", and B pcs to A.


Then I take these to the iron, and trim the parts indicated in the pattern.

A note for trimming D,C3:  Since this is a bias seam, sometimes sewing these two pieces together will cinch the fabric a bit, and D will appear a little smaller than its cut measurements.  Once I've set the seam, and pressed, I give both ends of the seam a gentle tug, and this brings D to its full size again, and the D,C3 pc will now be ready to be trimmed.   

Here's what the block looks like before I head back to the machine.


Video 2:
Here, I'm sewing the parts of the block into three sections.


Then I take these to the iron, and trim the centre strip as indicated in the pattern.  Here's what the block looks like before I head back to the machine for the final go.


Video 3:
Now all that's left is to sew these three sections together.  I match seams (indicated in the pattern) as I go.

Then one last trip to the iron to set the seams and give the block its final press.  E has been left a little long up to this point in case it's needed to match up to D. Trim the outer edges of the block to 18 1/2".


Done!  These blocks come together so fast once you've made a couple. 


Here's what's coming up:
Next week were sewing another third of the blocks, then we have Easy Week where you can catch-up, get-ahead, or take-it-easy.  There will be a prize every week, so share your progress every week!

WEEK 3, May 13th
Sew a third of the blocks
Bassinet:   1
Throw:      5
Twin:        8
King:       12

WEEK 4, May 20th
Catch-up, get-ahead or take-it-easy week

WEEK 5, May 27th
Sew remaining blocks
Bassinet:   2
Throw:      6
Twin:        9
King:       12

WEEK 6, June 3rd
Layout and assemble quilt top.  Post by midnight June 9th to be entered in the final giveaway, announced on June 10th.

Shawl Quilt Along, WEEK 7, May 6th

Final week!

It's finish 'er up week.  We're so close to the finish!  We're starting to see the plaid as these parts come together!

Congrats to Anna from @joyfullychosen.  You've won the surprise bundle from Aurifil!  I'll need your mailing address to get this out to you!


Final giveaway is a bundle from Cotton and Steel's newest release, Neko and Tori!  I got to play with this line back in August, so it's a thrill to see it's arriving in stores.  I envisioned Neko and Tori in a few of my patterns, here's a peek at some of the projects I proposed.


New Spring in Throw


 Potter's Wheel in Twin

All my patterns will be on sale from the 8th to the 16th, use the code BIRTHDAYWEEK to get 20% your pattern order from our shop.  Caverly's birthday is on the 8th and mine is on the 15th, so we always like to celebrate what we call our Briar Hill Birthday Week.  :)


Here are some tips for the week:

As mentioned last week, the instructions for assembling this quilt up look more complicated than they really are...

Some people are drawn to written instructions, some just want to understand the concepts and take it from there, and some people are drawn to an image.  Quilt Assembly includes instructions for all these different learning styles, so go with the instructions that feel most comfortable for you.

Once you've got your entire quilt together, if you didn't stay stitch the edge pieces already it's a good idea to sew around the edge with 1/8 seam allowance. These edges will be tugged during the quilting process, so this is a good way to keep the seams from opening.

Have you got your backing?  I have a favourite method for pattern matching the print on a backing and it's explained in this blog post.

Sheri will be taking my quilt this week to be quilted.  I've chosen a medium blue thread to have it quilted in, and I'm still deciding between those two pantos I shared two weeks ago.  I guess it'll be a game time decision!


My Shawl's left corner is together, and my little guy and I are pretty happy about it!  He is on a twin bed, and so I've been making the quilt according to queen instructions, it will just be a little narrower.  Today is his birthday, and he's asked for a day off of school and Glow in the dark MiniGolf, so we're off to do that today!  Tomorrow my goal is to get the rest of the quilt top together!  Yay for finishing week!


Shawl Quilt Along WEEK 6, April 29th

Week 6!

Congrats to Aurelei Callaghan, you've won the Week 5 prize!  I'll be in touch with your winnings!  Eek!

Week 6 Giveaway:

Next week's prize is a surprise from Aurifil!  I love their thread!  40wt is my fave!  I've had the privilege to work with Aurifil on a few different projects.  We have a thread box that has many favourite colours.  We designed our thread box to match our fabric collection June's Cottage, but also to have some pale neutrals that would blend in with piecing with a lot of different colours.  They've also supplied thread for our Bequest Lookbook for piecing and quilting!  We've blogged about these here.


This week we're doing Step 3 and part of Step 4 in the pattern.  We're cutting some blocks and cornerstones in half (step 3), and sewing some sashing together with blocks and cornerstones to make units (part of step 4).  Just do the first two paragraphs of Step 4.  If you have the printed pattern that's to the end of page 13.  If you have the download, stop before the 4th paragraph on page 9.  Assembling diagonal rows, and assemblong these rows into a quilt top are next week's prompts.


Cutting through finished blocks:
It's not often a comfortable feeling to take a block you've carefully made and cut it in half, but you can do it!

My first experience cutting a block in half was on my Glimmering quilt.  The blocks are made with 108 little paper pieced triangles, and I must have checked my directions nearly ten times before I cut them.  It was my baptism of fire of cutting through finished blocks, and now, everything else is easy!


You can do this! Keep the diagrams in the pattern close, and you'll be just fine!

Just to make the process a little easier, I've made a file with some labeled tags to help you keep these new pieces organized, you can download it here.


Sewing blocks, sashing and cornerstones into Units:
Sewing these units makes next week's quilt assembly all the easier!  Make sure that you're sewing sashing pieces to the correct side of the block. Press all seam allowances towards the sashing!


Psst! Next time you make a quilt with cornerstones and sashing, this trick works to make these seams nest.  Either press all seams toward the sashing, (or all seams away from the sashing) and you'll have seam nesting magic!

Isn't this so exciting, seeing these parts start to come together?  Eek!


A heads up for next week's work:
The instructions for assembling this quilt up look more complicated than they really are. Once you start assembling the quilt top into rows, everything will make a lot of sense.  

Some people are drawn to written instructions, some just want to understand the concepts and take it from there, and some people are drawn to an image.  Quilt Assembly includes instructions for all these different learning styles, so go with the instructions that feel most comfortable for you.

Two weeks from today we'll have finished quilt tops!  Can you believe it?!

Here's where mine's at!  My little guy is pretty happy with it!  I need to shop for a flannel backing  that's a good match (I'm hoping for a wideback), so far it's been tough finding the right blue.  I think I'll use the AD (the palest red) for the binding.


I didn't get ahead like I'd hoped, but I did completely catch up, so yay me!  And yay you!  I love to see your quilts come together.


We are here at: 
WEEK 6, Apr 29th
Step 3 and part of 4 in the pattern; cutting pieces for outer edges and assembling units. 


Next week is:
WEEK 7, May 6th (final week of the QAL)
Assemble quilt top and post your progress by midnight, Sunday May 12th to be entered in the last giveaway.


On May 13th, the final giveaway winner will be announced in a final newsletter.


Keep up your inspiring work!  We're getting so close to the finish!

Yonder Quilt Along, WEEK 1, April 29th

Virtual confetti dump!  Yonder QAL is open!


THANK YOU for joining!  We have 119 participants!  I hugely appreciate your enthusiasm for this pattern.

There's so much to cover in our opening post so I've divided things into categories to help you find what you're looking for. 


Giveaway!


Our opening Giveaway is a $30 Gift Card from Maker Valley!  Just enough to get yourself that quilty shirt you've been wanting, or some cute sewing related enamel pins!  Congrats to Julie Kerr!  I have your email address, so I'll get that gift card to you, pronto!


Although our first giveaway was open to everyone who signed up and purchased the pattern, future giveaways will be selected from posts on Instagram sharing your progress, using #yonderquilt, and tagging me @briarhilldesigns.  This week I'd love to see your palettes and/or progress!


Here's the palette for my first Yonder!  This is Garden Club by Brenda Ratliff of Pink Castle Fabrics, a fellow textile designer with RJR.  I needed a few extra fabrics to make the Twin size of the quilt, so I added a handful of RJR solids into the mix.


Our Epic Sponsors!

We have an amazing lineup of sponsors!  I love to get to brag up businesses I admire and believe in!  They've been very generous with their prizes for us, and I encourage us all to show our appreciation by checking out, and if you like, following these inspiring creative businesses.


Our giveaway for Week 1 is Winner's Selection of 3 large spools of Aurifil thread, and a pattern from our Briar Hill Etsy shop!


I'd probably want these three - Aluminum 2615, Chalk 2026, and Fairy Floss 6723. What would you choose?


Share your progress for the week by midnight on Sunday to be entered in the Week 1 Giveaway.  Winner will be announced in the Week 2 newsletter and blog.


This week's goal:


Since we are going to start sewing blocks next week, we need all the fabric cut for the entire quilt top.  


(Palette for the second Yonder I'm making from Dylan M's line Mazy's Garden, plus some neutrals from a variety of designers to build out the palette.)

This week we are working through Steps 1 and 2 in the pattern: cutting all the fabric we need for our quilt, stacking pieces of the same print and letter,... 


...then sorting which prints we want in a block together. Please note that in the image above, B1 and B2 are together in the B pile, and C1, C2, and C3 are together in the C pile.  When choosing which fabrics will go in a block together, I take a stack of D first because it's the largest, then select a stack from E, C, B, and then select A as the cherry on the top.


Here is how my bundles for individual blocks look.  

Don't feel pressure to gather the perfect assortment of colours and print for every single block.  Remember.  They're all going into the same quilt.  I've learned that if I only allow the best matches to become a block instead of allowing for some unexpected fabric mashups, an assembled quilt top can look segmented and less cohesive.  So, reminding myself, "They're all going into the same quilt." when matching up fabrics helps me make a quilt I love.


Some tutorials to help you get started:

First, here's a quick tutorial on how I stack my prints, and trim them to make as little waste as possible.  I use fat quarters to demonstrate this, but the same can apply to your full width yardage.


Want to see it on You Tube?  Click here.

As promised, here are links to the (optional) bonus blog posts:  These are meant to be a support if you would like to: 1.  Use fat quarters instead of yardage to make your Yonder Quilt, or 2.  Make a directional print upright in every part of the block.  That's not necessary (I enjoy my directional prints to be any-which-way) but if it's your style, the blog post will be a help.  If you're following the pattern as it stands, there's no need for you to read this content.

Using Fat Quarters for Yonder

Using directional prints with Yonder

I've made printable files of these tutorials.  You can download and print them from here.

ALSO, I've made you some labels to help keep your project organized.  They're also available through the link above.


Just in case using templates in the way described in the pattern is new to you, here's some info on how they're used.

1. Cut out the template.
2. Select one of your acrylic rulers that is just a little bigger than the size of the template.
3. Determine which edges of the paper template will need to be cut (arrows on paper templates point to these edges). These edges will be lined up to an edge on your ruler.
4. Tape these templates (right-side-up) to the underside of your ruler using a clear tape (I use Scotch Magic Tape).  We'll call these Ruler Templates.
5.  Align ruler template D or E to the stack of  D or E pcs cut. There are four D or E pcs per block, so you can cut all four at the same time.  Cut fabric to shape of template. The triangles cut away won't be used for this pattern.


Next week I'll be sharing my Yonder block assembly tips!

I recommend using a 6 1/2" ruler for trimming parts of the block next week.  If you'd like to order one fast, here's a link!


Some housekeeping details:

Long story short: 
Please use #yonderquilt in all your social media posts!  

You can follow this hashtag on Instagram to keep an eye on what other QAL-ers are up to!  I hugely encourage cheering on other quilt along-ers, and making a few new quilty friends! 

Long story long:
Last summer when I designed this pattern it was top-secret until Quilt Market weekend.  It’s not easy to name a quilt, and I finally found a name that was unused, and a good fit, Yonder. 

A few days previous to Market, a quilter I hugely admire, @eyecandyquilts announced her cute new pattern, Yonder.  What?!  What are the chances?!  I sent her a message and our unlikely and funny conversation went like this:

Me: Hi! Have you just named a pattern Yonder? I did too! 

Eye Candy Quilts: Yep!

Me: Yikes!  Mine is debuting in the C+S booth.  I would change it, but I don't think I'm able to.

Eye Candy Quilts: Mine is in Moda's sales materials.  Oh well!  It happens all the time!

Me:  Yup!  Well you know what they say about great minds!

I’m telling you this, because guess what!  The story gets even more ironic!  We’re both hosting quilt alongs with our individual Yonder patterns.  Hers starts in 2 days, so the Yonder quilt along Google search, and hashtags will show results for two Yonder Quilt Alongs.  

So to keep things tidy, we will use hashtags #yonderquilt primarily, and please tag me @briarhilldesigns in your posts so I don't miss a thing!  

Annaliese will be using other Yonder quilt along related hashtags for her quilt along like #yonderqal and #yonderquiltalong.  It doesn't mean we can't use "her" hashtags, or her participants can't use "ours", because we can, and they can.  I'm just promoting #yonderquilt as the one I'd primarily like you to use, and I'll be drawing winners from the #yonderquilt hashtag shared through Instagram.

If there is any content that needs to be added later in a week, it will be added to the bottom of that week's blog post, and a newsletter will go out to link you to the additional content.

Any questions, please feel welcome to email me at briarhilldesigns@gmail.com.


Here's the plan for every week of the QAL:

WEEK 1, April 29th 
Steps 1 and 2: Cut all fabric for your blocks, match up fabrics you would like in the same block.


WEEK 2, May 6th
Sew a third of the blocks
Bassinet:1
Throw: 5
Twin: 8
King: 12

WEEK 3, May 13th
Sew a third of the blocks
Bassinet:1
Throw: 5
Twin: 8
King: 12

WEEK 4, May 20th
Catch-up, get-ahead or take-it-easy week

WEEK 5, May 27th
Sew remaining blocks
Bassinet: 2
Throw: 6
Twin: 9
King: 12

WEEK 6, June 3rd
Layout and assemble quilt top.  Post by midnight June 9th to be entered in the final giveaway.

June 10th


Final giveaway winner announced!

Any questions, please feel welcome to email me at briarhilldesigns@gmail.com.